


Jeremy and I have
finally returned from our four-month stint in Europe. While I’ll miss the travelling, excellent food
and magical sunsets, it’s always good to come home to San Diego—and all my
crafting supplies. Contrary to most peoples’
European adventures, I usually return with an empty suitcase. I get so tired of lugging a heavy suitcase
around that I donate most of my clothes to charity along the way. So, left with only a few items of summer
clothing, I decided to start sewing my own clothes.
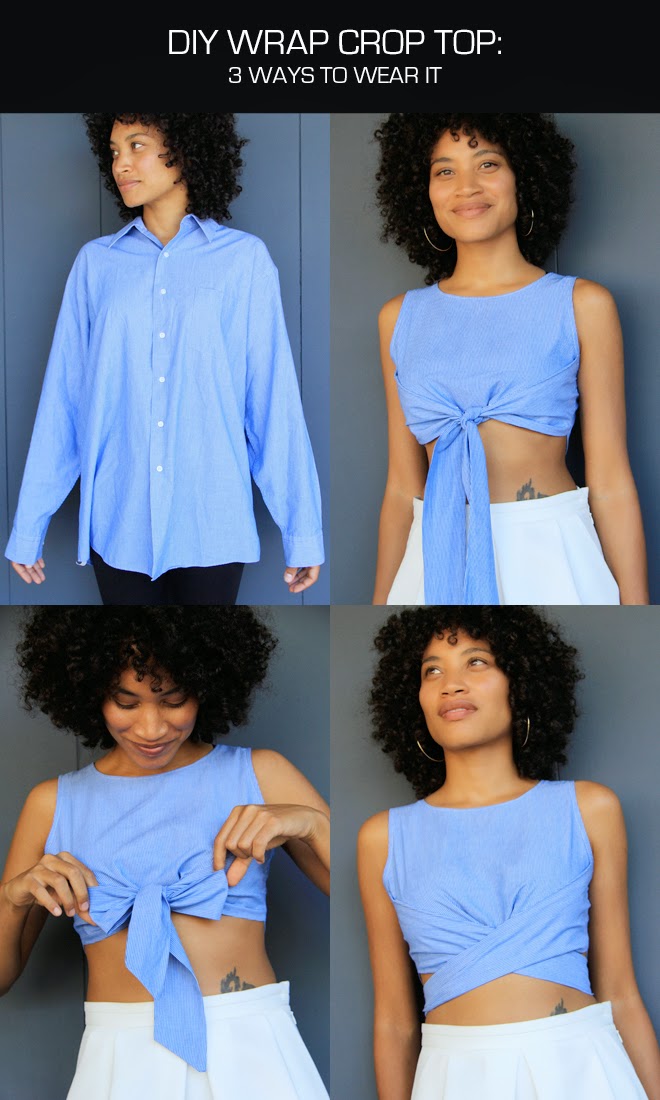
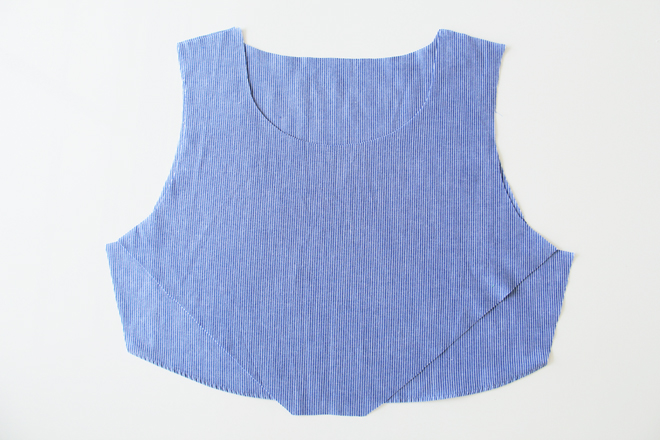
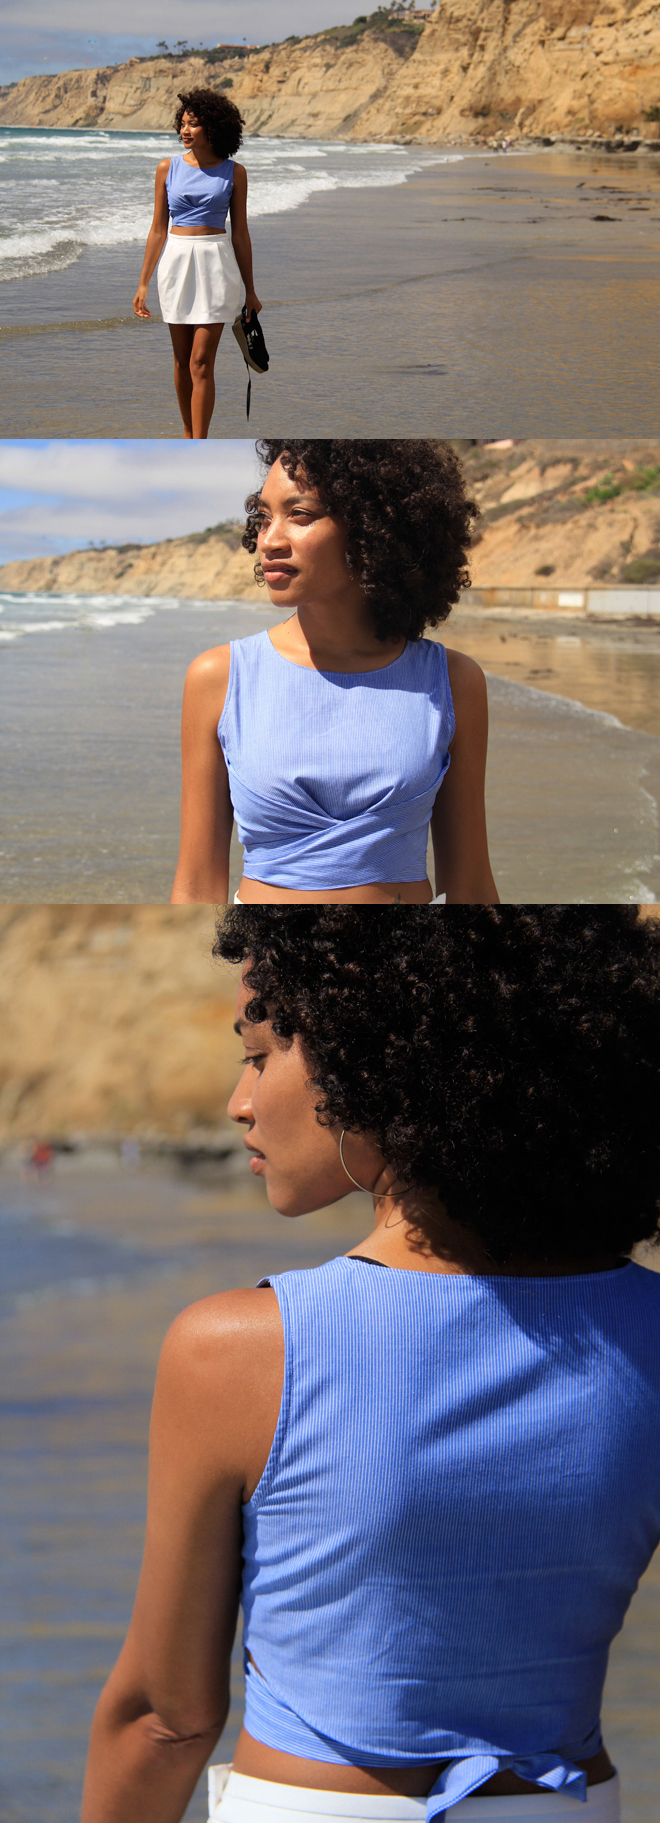
This wrap crop top is perfect for summer. The crop top can be worn 3 different ways:
knotted in front; tied in a front bow; (or my personal favorite) wrapped around
the body and tied at the back. It’s the
first garment I’ve ever made from scratch and without a pattern. I harvested fabric from a second-hand men’s
shirt, sized large (I love a good recycle project!). This wrap crop top pattern will fit a U.S.
size 2-4.
Materials:
My free wrap crop top pattern
(includes sewing allowance, print at 100%)
Men’s large shirt / 1
yard of fabric
Matching thread
Pins
Scissors
Sewing machine
Method:
1] Print and
cut out templates.
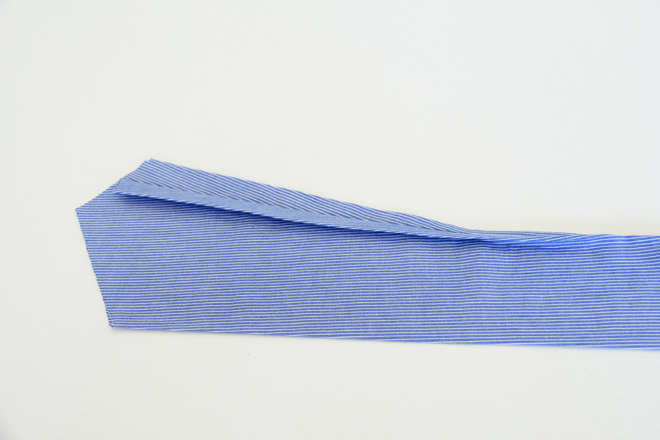
2] Cut out your
fabric pieces, as well as 3 long bias strips.
3] With right
sides facing sew the shoulder seams at ½ “
4] Fold the
front bottom edge ¼ “ and iron flat. Repeat and sew edge. Sew the back bottom edge the same way.
5] Fold the
front angled edge ½“ and iron flat.
6] With right
sides together, sew the side panels at ½“. Leave the side seam open.
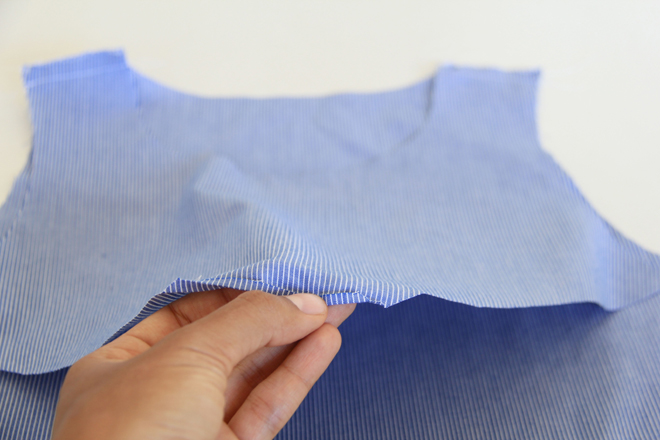
7] Turn the side panels right side out. Fold the top
seam of your side panel about an inch towards the center, creating 2 ridges. Do
this for approximately 9”, tapering the fold as you go. Iron flat.
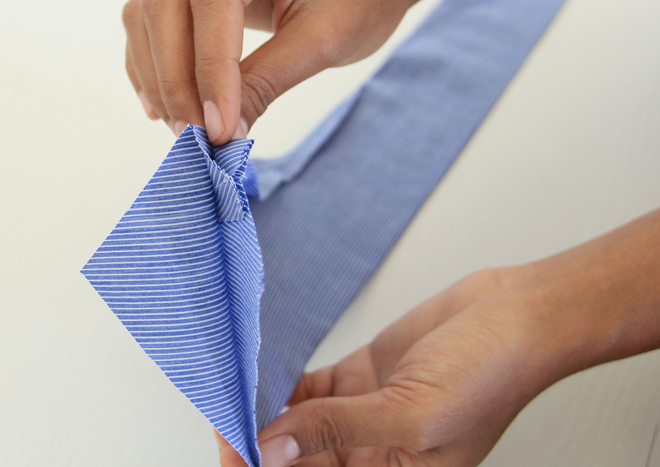
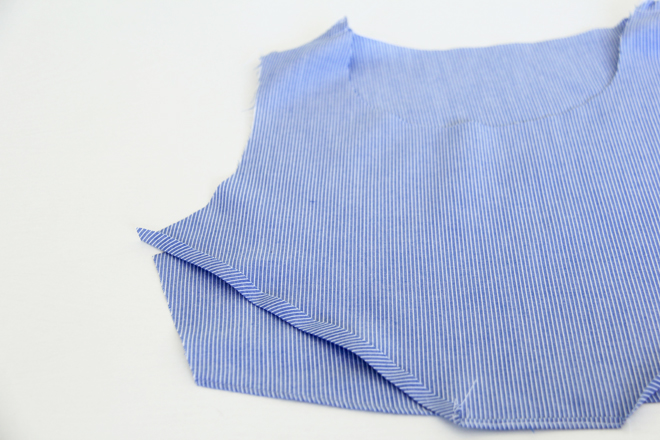
8] Fold one
ridge of the side panel down and iron. Do this on opposing sides to create the
left and right panel. The flap that is ironed down will be sewn on the inside
of the top. I hope my images help to explain this step.
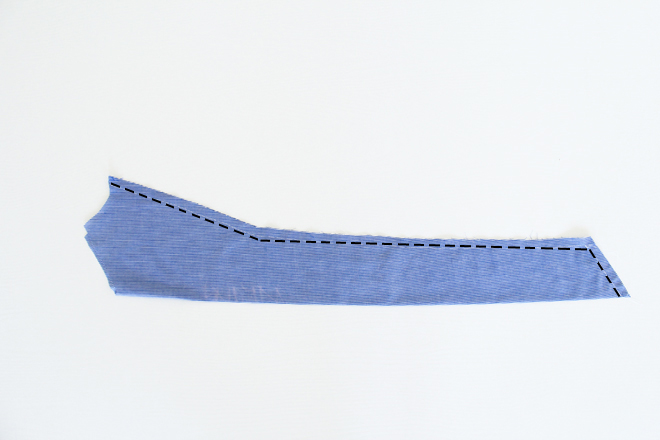
9] Pin the side
seams of the side panel and the back of top together. Sew.
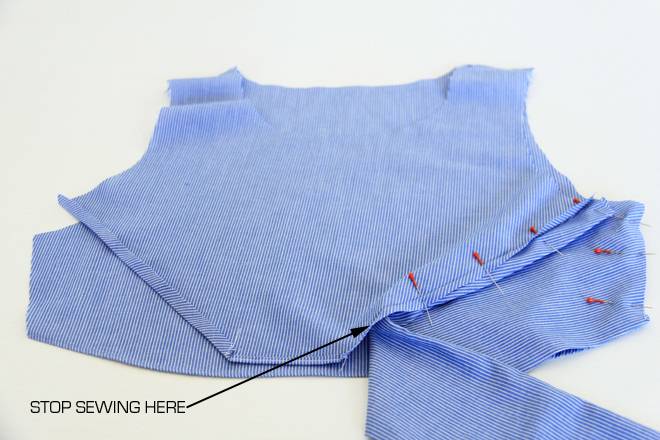
10] Pin the
turned down edge of the side panel to the front of the top. Sew to ½” from
bottom edge. Make sure not to sew through
the front of the side panel.
11] Finish the
neckline and armholes with bias tape and any raw edges with a zigzag stitch.
This is a really fun little
crop top, which I definitely be wearing all summer long. I’ll be making a few more garments for summer
and fall, so stay tuned.
Also, don’t forget to
subscribe or follow on Bloglovin to get free patterns and tutorials in your
inbox. You can also share the love by liking
The Felted Fox on Facebook.
Have a great day and thanks for stopping by, Nicole.