Showing posts with label recycled. Show all posts

Saturday, December 13, 2014

BLACK FAUX LEATHER CLUTCH DIY


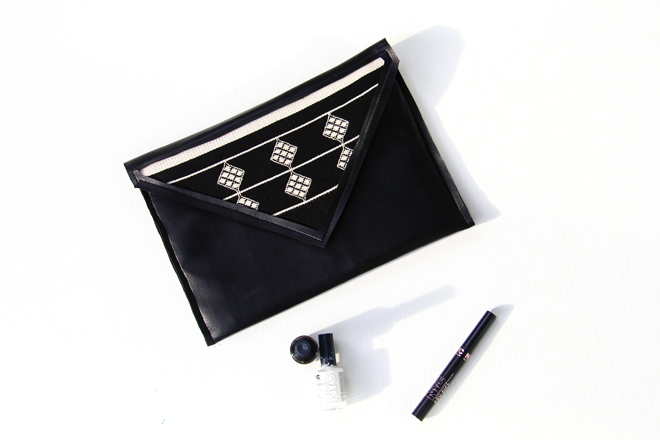
Are you still looking for that perfect handmade gift?  With Christmas right around the corner, you need a DIY that’s fast and easy but still looks fabulous.  This black faux leather clutch fits the bill.   It costs less than $5 to make and can be sewn in under an hour – the perfect afternoon sewing project!  I’ve even added a cutout to the clutch to display your favorite fabric.  I used some fabric left over from my up-cycled backpack project to make my clutch a one of a kind gift.

Materials:
12 1/4" x 24 1/4"  Black costume pleather
12 1/4" x 24 1/4" Black felt
Contrasting fabric for cutout
Velcro
Fusible webbing
Cardboard / thin plastic folder
Black thread
Scissors
Sewing machine

Method:
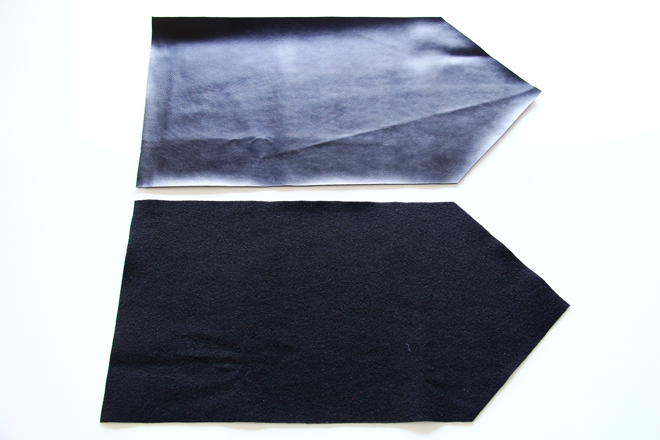
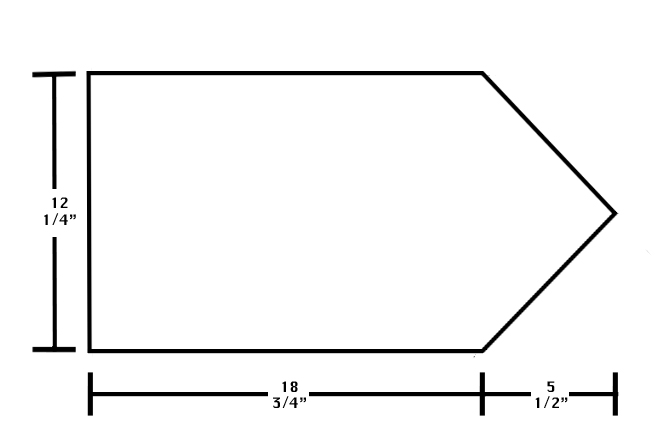
1]  Cut 1 piece of costume pleather and 1 piece of black felt according to the measurements below.

2]  Lay the felt on top of the pleather (wrong sides together), and fold it to form the clutch.  Use chalk to mark points where Velcro will be attached. 
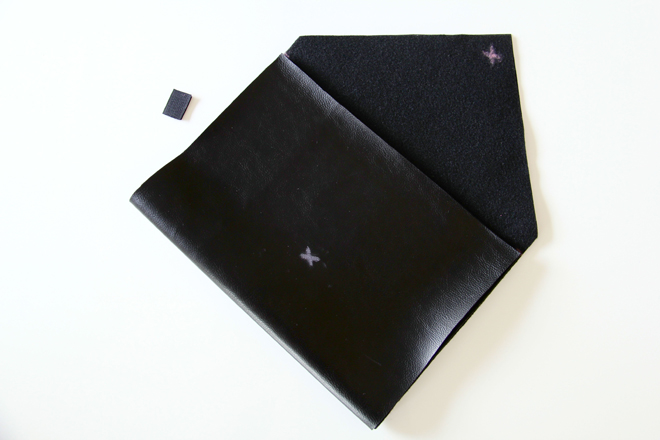
3]  Separate felt and faux leather and sew Velcro to these points.
4]  Cut a triangular opening in the faux leather flap of the clutch, leaving a ½” edge on all sides. 
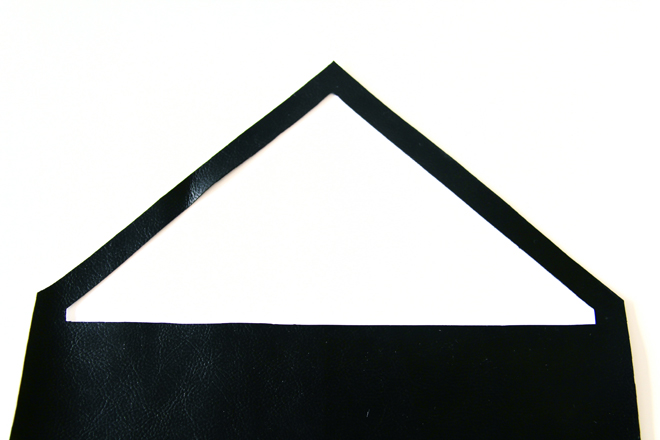
5]  Cut a piece of contrasting fabric and fusible webbing to the size of the flap of the clutch.
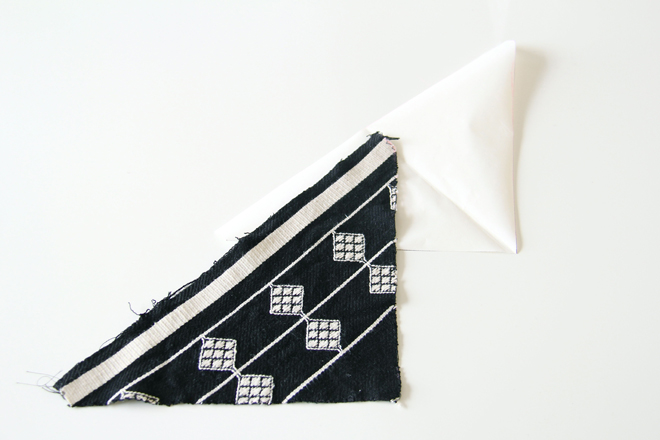
6]  Sandwich the fusible webbing between the wrong side of the contrasting fabric and the wrong side of the felt. Fuse fabrics according to manufacturer’s instructions.
7]  Line up the faux leather and felt and sew around the cutout.
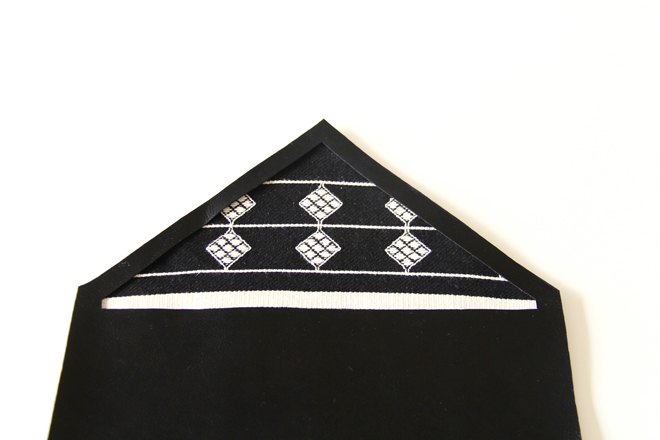
8]  Cut a piece of cardboard/plastic 11” x 8”.
9]  Insert the cardboard/plastic between the faux leather and felt, positioning it in the front of the clutch. 
10]  Sew the front top edge of the clutch.
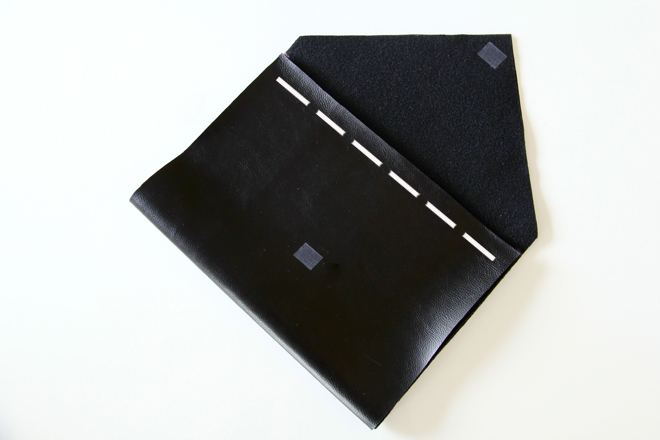
11]  Fold fabric to form the clutch.
12]  Sew side seams and you’re done! 

Take it out for a spin at your next Holiday party or gift it to someone special.  Please feel free to leave any questions/comments below.  If you enjoyed this tutorial please share the love by liking The Felted Fox on Facebook. Also, don’t forget to follow The Felted Fox on Bloglovin to receive free tutorials and patterns to your inbox.


Happy sewing!  Nicole.


Friday, August 23, 2013

SHOU SUGI BAN OUTDOOR TABLE DIY

When we needed an outdoor table for our recently completed patio, I figured I would have to build one myself.  A few years ago, my husband Jeremy designed a beautiful table for our front deck.  However, being finished in polyurethane it needed constant maintenance.  As he watched the polyurethane crack and mold grow underneath, he was in no mood to make another.  That was until I uttered the words “Shou sugi ban”.  His eyes immediately lit up.  I had him hooked! 

Shou sugi ban, or Yakisugi, is a traditional Japanese method of burning cedar (sugi) before finishing it with natural oil.  Normally used as exterior siding, the charred wood is pest and rot resistant for up to eighty years.  So, charring is a beautifully simple way of ensuring the longevity of wood.  Here are a few contemporary examples.
  
Though a few expletives were uttered during the making of this table (which come standard with my husband’s DIY projects), it was easy to make.  Once charred, the wood appears a silvery grey or shiny black depending on how the light hits it.  We love how this table turned out. 

Materials:
Hairpin legs (we bartered for a second-hand set at a local street fair, but you can purchase them new here)
2 laminated pine panels 47 ½ “x 15” x 1 ½ “
2 pieces of pine 27 ½” x 5 ½ “x 1” (supports)
1 Bernzomatic UL100 basic propane torch kit
12 wood screws 1 ¼ “
12 sheet metal screws 1 ¼ “
White Rust-Oleum spray paint
Linseed oil/ other natural oil
Sponge brush
Wood glue
Sand paper 
Drill
Clamps /tie downs

Step 1:
Use sandpaper to remove any rust from the hairpin legs and to help the paint adhere.  Spray paint them in a well-ventilated room.

Step 2:
Glue the two pieces of laminated pine together and clamp.  Let it rest on a clean, flat surface for approximately 2 hours while the glue cures. 

Step 3:
Glue the supporting pieces of pine approx. 5” from the edge of either end of the table.  Evenly space six wood screws along the length of the supports and screw into wood, making sure they go into the base of tabletop.

Step 4:
Assemble the Bernzomatic torch kit according to instructions.  Light and begin burning the wood, following the grain. 
NOTE: Burn the tabletop in an area clear of vegetation. 

Step 5:
Once both sides are sufficiently charred, use a brush or wet rag to wipe off excess soot.

Step 6:
Use the sponge brush to apply several coats of linseed oil to the tabletop.

Step 7:
Use the sheet metal screws to attach legs to tabletop.


Sit back and enjoy your new table:) Thanks for visiting. Nicole


Friday, May 17, 2013

NEON & FELT VASE DIY

Things have been really busy here lately (or maybe just busy in my head:).  I’ve managed to finish a few sewing projects, including my mother-in-law’s long awaited bike bag, and will be posting those tutorials shortly.  I’ve also met with the amazing people at the UC San Diego Recreation Center, who want me to host a few more craft workshops and promote my work at The Felted Fox.  I am thrilled and honored!
In the meantime, our Matilija poppies started to flower and I felt they deserved some pretty neon vases.  Follow the tutorial below to make your own.

What you’ll need:
Plastic jar/bottle – I used plastic bottles and cut off the tops.
Scissors
Felt
Neon rope
Glue

Step 1:
Remove the stickers from plastic containers and cut off the tops (if necessary).

Step 2:
Cut a piece of felt large enough to wrap around the plastic jar.

Step 3:
Place a few beads of glue around the plastic jar and press the felt in place.  Cut any excess.

Step 4:
Glue the rope in place, starting at the base of the container.  Add a few drops of glue as you wrap the rope around the container. 

Add some flowers and enjoy!


Modeling my mother-in-law’s new bike/messenger bag.  Hope she likes it.


UA-39822949-1