

Are you still looking
for that perfect handmade gift? With
Christmas right around the corner, you need a DIY that’s fast and easy but
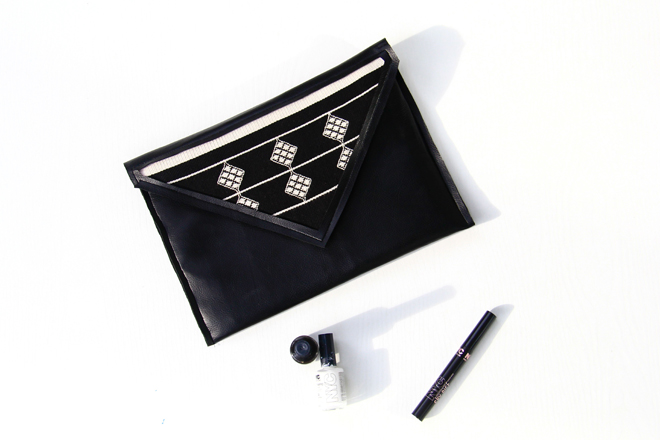
still looks fabulous. This black faux
leather clutch fits the bill. It costs
less than $5 to make and can be sewn in under an hour – the perfect afternoon
sewing project! I’ve even added a cutout
to the clutch to display your favorite fabric.
I used some fabric left over from my up-cycled backpack project to make
my clutch a one of a kind gift.
Materials:
12 1/4" x 24 1/4" Black costume pleather
12 1/4" x 24 1/4" Black felt
Contrasting fabric for
cutout
Velcro
Fusible webbing
Cardboard / thin plastic
folder
Black thread
Scissors
Sewing machine
Method:
1] Cut 1 piece of costume
pleather and 1 piece of black felt according to the measurements below.
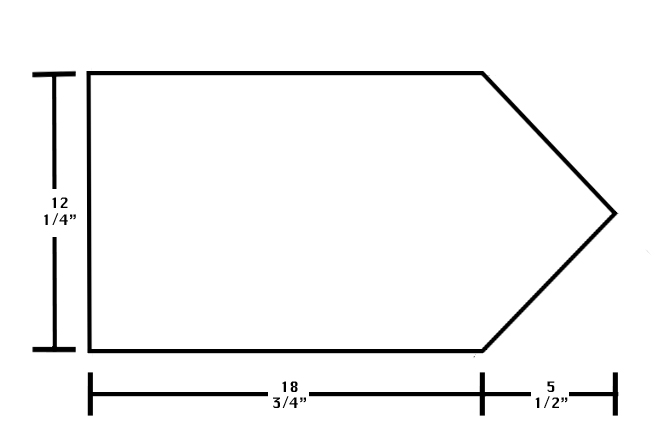
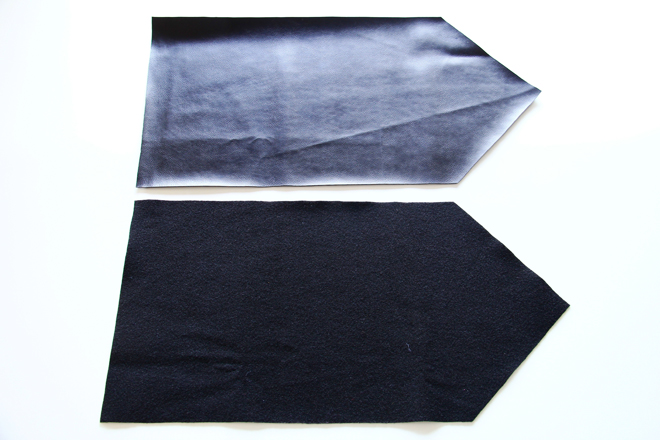
2] Lay the felt on top of
the pleather (wrong sides together), and fold it to form the clutch. Use chalk to mark points where Velcro will be
attached.
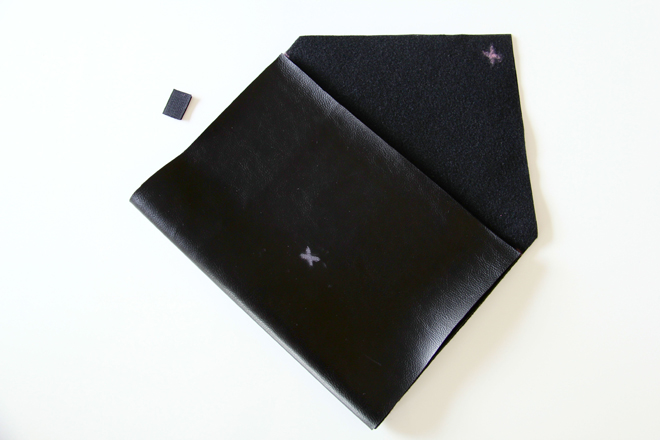
3] Separate felt and faux
leather and sew Velcro to these points.
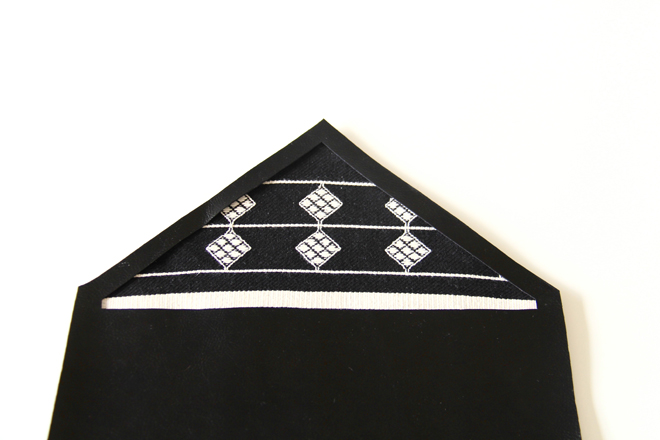
4] Cut a triangular opening
in the faux leather flap of the clutch, leaving a ½” edge on all sides.
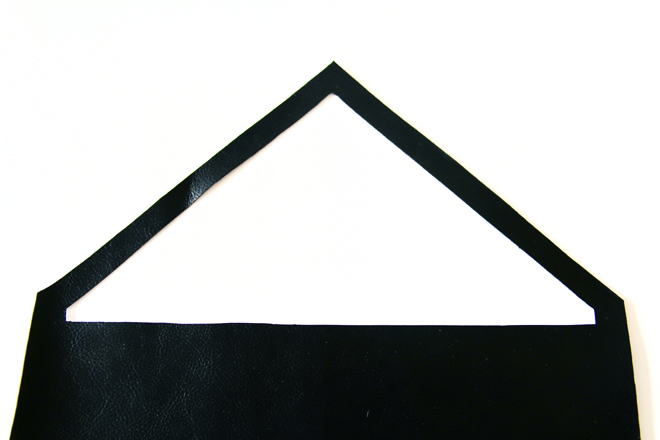
5] Cut a piece of
contrasting fabric and fusible webbing to the size of the flap of the
clutch.
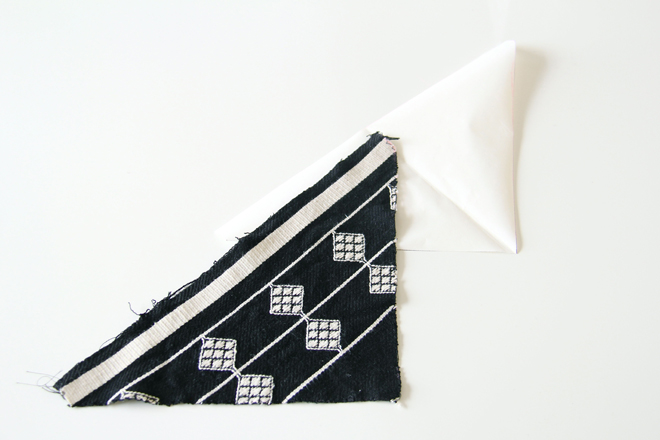
6] Sandwich the fusible
webbing between the wrong side of the contrasting fabric and the wrong side of
the felt. Fuse fabrics according to manufacturer’s instructions.
7] Line up the faux leather
and felt and sew around the cutout.
8] Cut a piece of
cardboard/plastic 11” x 8”.
9] Insert the
cardboard/plastic between the faux leather and felt, positioning it in the
front of the clutch.
10] Sew the front top edge of the clutch.
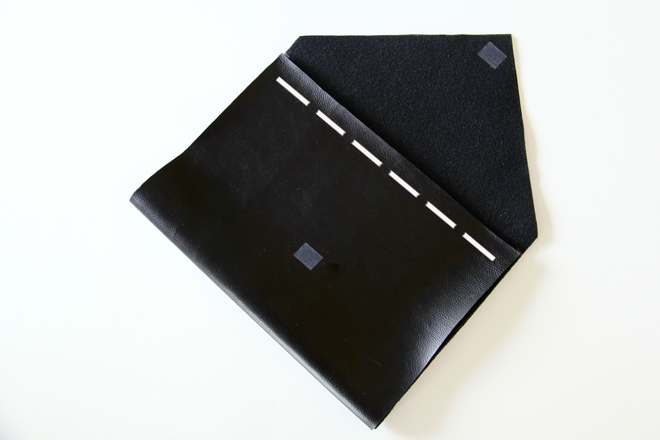
11] Fold fabric to form the
clutch.
12] Sew side seams and you’re
done!

Take it out for a spin
at your next Holiday party or gift it to someone special. Please feel free to leave any
questions/comments below. If you enjoyed
this tutorial please share the love by liking The Felted Fox on Facebook. Also,
don’t forget to follow The Felted Fox on Bloglovin to receive
free tutorials and patterns to your inbox.

Happy sewing! Nicole.