Showing posts with label interior design. Show all posts

Friday, February 13, 2015

PINK ABSTRACT PAINTING


Over the past few years I’ve noticed the increasing popularity of pink in Scandinavian interior design.  Now, almost everything comes in pink, from couches and cushions to coat hooks and teacups.  Although I’m not a big fan of pink, the pastels of contemporary Scandinavian design work well with the copper and grey tones that I do love.  Investing a large sum of money in a pink couch, which might look dated in a few years, was not the way I wanted to go.  Instead, I opted to add a pink accent to my office with a simple abstract painting.  It’s easy to paint: all you need is a can of spray paint, some pretty acrylic colors, and a few extras you probably have lying around your house.  Below are a few inspirational images pulled from the web.

Clockwise from top: 1 / 2 / 3 / 4

Materials:
Canvas (I used a scrap piece of plywood and drilled a hole in the back to hang)
White acrylic paint
Grey acrylic paint
Pink acrylic paint
Copper spray paint
Ruler
Pencil
Painter’s tape
Paint brushes/rollers
Scrap paper

Method:
1]  Cover your work surface with paper.
2]  Paint a base coat of white onto the canvas/wood (optional).

3]  Draw a few straight lines across the canvas in any pattern you like. 
4]  Tape the edge of the area you wish to paint. 
5]  Paint area and remove tape once paint has dried.
*  When using spray paint, make sure only the area you want painted is exposed.  Cover everything else with scrap paper. 
6]  Repeat last two steps until you are happy with the results. 
7]  Hang (and admire) your work!  

Please feel free to leave any questions/comments below.  If you enjoyed this tutorial please share the love by liking The Felted Fox on Facebook or follow The Felted Fox on Bloglovin to receive free tutorials and patterns to your inbox.

Have a great weekend!  Nicole. 

Wednesday, October 1, 2014

PLATFORM BED DIY


Today I want to share an easy way to DIY a platform bed.  If you’ve ever used a drill and screwdriver, you could make this bed!  It’s really that simple.

Jeremy built our platform bed when we first moved into our home.  At the time, we had searched everywhere for the perfect bed but just couldn’t find one we loved.  He opted to build a wood platform and attach Ikea legs to the base.  It served its purpose for 7 years, but recently he decided the bed needed a serious makeover.  As we both love the muted tones and raw wood found in Scandinavian design, we covered the platform in grey felt and replaced the legs with poplar dowels.  Here’s the full how-to:


Materials:
1” thick wood – enough to create a platform to fit your mattress.
2   1”x 9”x 66” hardwood beams
4 to 6 Ikea Capita legs (the number of legs will depend on the size of the bed you are creating) 
28  1¼”wood screws
28 washers
Drill
2” drill bit
Sander
Medium and fine grit sandpaper
Wood glue
Linseed oil/ Polyurethane
Sponge brush
Screwdriver
Grey felt – enough yardage to cover the platform
Staple gun
5/16” Staples
Tape Measure

NOTE: You could use the Ikea legs as is, but if you prefer the look of the wood dowels include this in your list of materials:
4   2”x 9” poplar dowel legs
1 or 2   2”x 9 ¾ “ poplar dowel supports (optional)

Method:
1]  Measure the mattress to figure out how many pieces of wood you will need. If you need any pieces cut, a local lumberyard will do it for around 50c/cut.
2]  Using the 2” drill bit, drill 4 to 6 holes in each piece of wood. This allows heat to escape and preventing condensation from forming on the underside of the mattress.
3]  Sand the wood to remove any splinters.
4]  Seal the wood with polyurethane or linseed oil.
5]  Lay the wood pieces side by side forming the platform. 
6]  Glue the supporting pieces 7” from the top, bottom and side edge of the platform.  Evenly screw wood screws along the length of the supports.

7] Attach the Ikea leg brackets approx. 14” from the bottom and top edge of the platform centering them on the supporting beams.
If you prefer dowel legs, drill a hole slightly smaller than the bolt on the Ikea leg bracket.


8] Screw legs into the leg brackets.

Note: Depending on how large your bed is and how many pieces of wood you’ve used to create the platform, you may want to add another leg or 2 to stabilize it. We added an extra leg to the very center of our queen sized bed.

9]  Flip the platform over. Your bed should now look like this. Just ignore the fact that our bed has one side table. 

10]  Drape the felt over the platform and staple it to the underside. I needed two pieces to cover the width of our bed, so sewed these together before stapling. You could also just staple the two pieces in place. 


Done! 

Get Happy :) 

Please feel free to leave any questions/comments below. I do so love hearing from you. ☺  If you enjoyed this tutorial please share the love by liking The Felted Fox on Facebook. Also, don’t forget to subscribe or follow The Felted Fox on Bloglovin to receive free tutorials and patterns to your inbox. Nicole


Saturday, May 31, 2014

WEEKEND OF DESIGN: Blickfang Basel and Vitra Design Campus


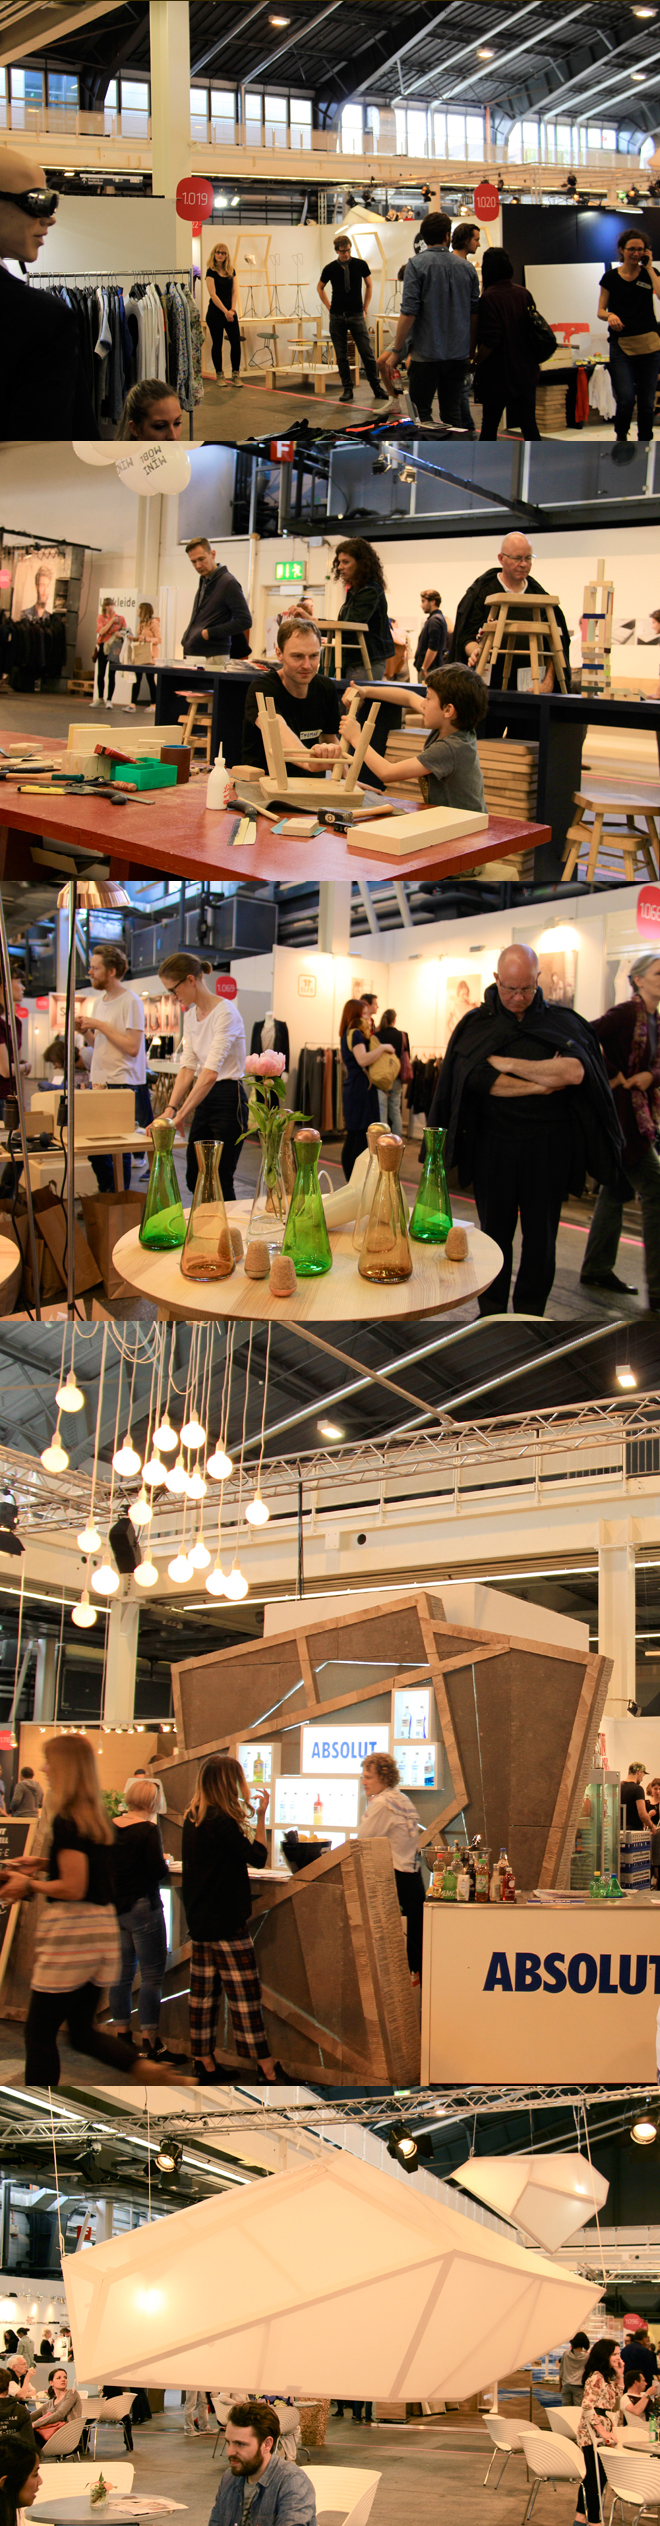
A few weekends ago my husband and I were fortunate enough to visit both Blickfang Basel and the Vitra Design Campus.  Blickfang is a traveling European design exhibition featuring the work of talented, small-scale designers.  Not only do you get to peruse (and purchase) the wares, but you also get face time with the designers themselves. 
Jeremy and I foolishly considered dragging one of these enormous geometric pods back home. 


Some of my favorite designs at the exhibit included these origami inspired chairs by Matthias Scherzinger of Freudwerk and the triangular poufs designed by Antoinette Bader — I’m a sucker for hard edges and geometric shapes.


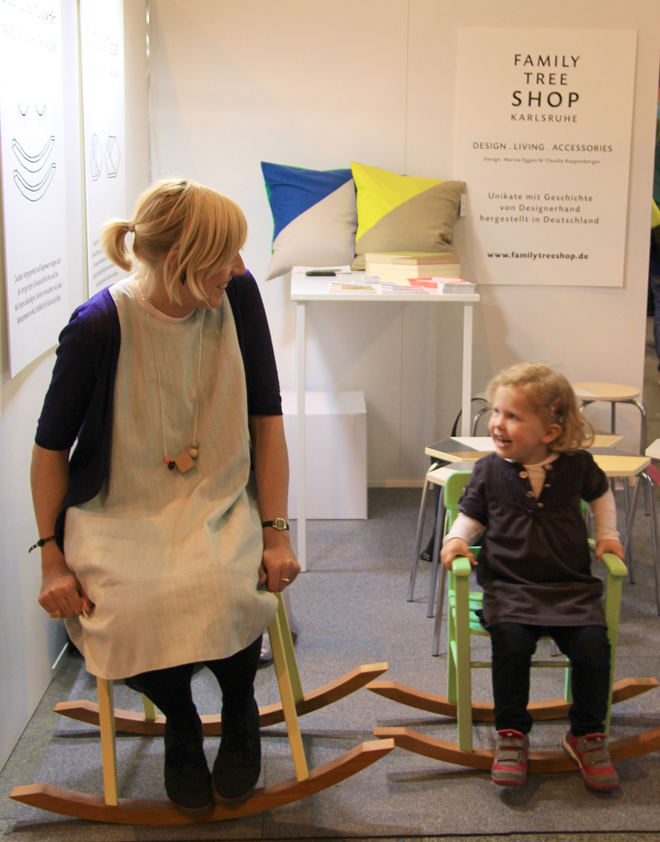
These two were just adorable.

The following day we hopped on a bus to the Vitra Design Campus in Weil am Rhein, Germany, to join in their 25th anniversary celebration.  We were treated to tours of the Frank Gehry buildings, the Vitra Haus as well as free crafting workshops.

Copper lampshades, concrete stoves, Eames elephants, Verner Panton lounge chairs ...had I died and gone to design heaven? Jeremy eventually snapped me out of my design coma with the promise of real Black Forest cake. Mmmm...yum.

The installations at Vitra Haus change pretty frequently, so I will definitely be back soon. If you’re looking for design inspiration, it’s hard to beat the Vitra campus! 
UA-39822949-1