Materials:
12” x 15” Costume
pleather
12” x 15” Felt
2.5 yard 1” Nylon
webbing
1 yard Drawstring
2 Plastic adjusters
1 Buckle
Black thread
Pins
Chalk
Scissors
Iron
Sewing machine
1) With the wrong side facing, measure 2 ½'' from the top of the fabric and mark with a pen.
2) Fold fabric ½“ from
top and iron.
3) Fold fabric another
2'' to meet the pen mark you made. Iron flat and sew edge.
4) Insert the
drawstring.
5) Fold fabric in half
width wise. With right sides facing, sew the edge together. Use a zigzag stitch
to finish edges and prevent the fabric from fraying. The fabric should now
form a cylinder with the drawstring at the top.
6) Cut two pieces of
nylon webbing 6.5” long. Thread plastic adjusters onto the webbing. Fold
webbing in half and sew adjusters as shown in image below.
7) Cut base pieces from
template. With wrong sides facing, sew edges together.
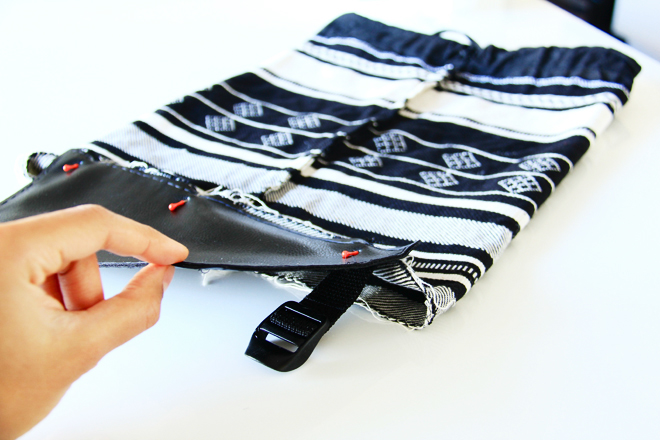
8) Pin base and
adjusters in place. The adjusters were set 8” apart. In the photograph you can
see that I’ve placed the fabric seam down the center back.
9) With right sides facing, sew base to backpack. Turn backpack right side out.
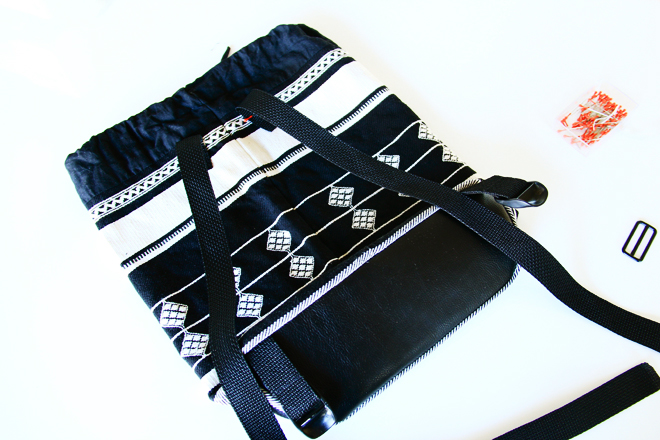
10) Cut two 28” pieces
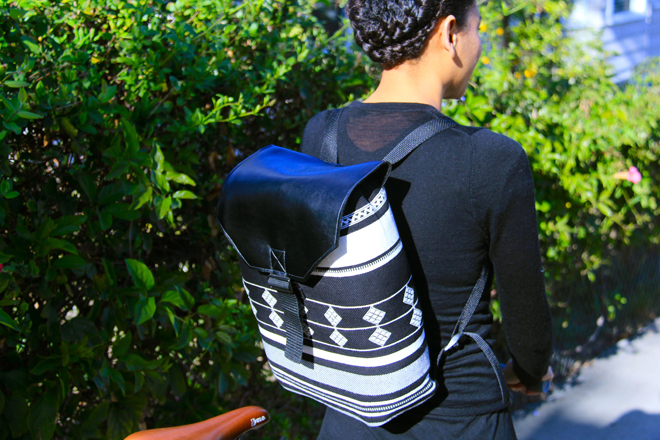
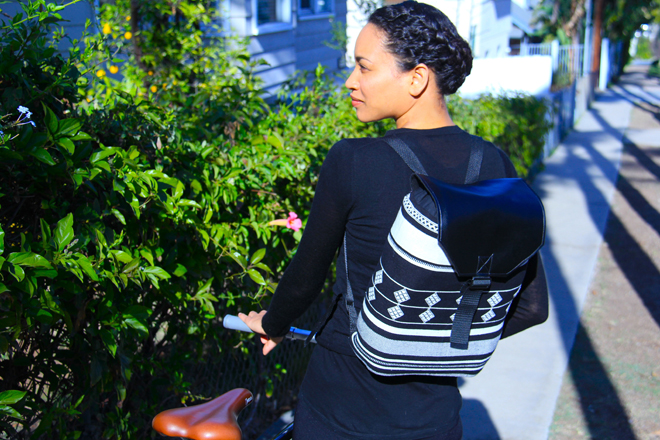
of nylon webbing for straps. Pin straps at an angle to top of bag,
approximately an inch from the back center. Sew in place. Thread the straps through adjusters.
11) Cut one piece of
nylon webbing 3” long. Thread buckle onto webbing. Fold webbing in half and sew
as shown in image below.
12) Cut one piece of
pleather and one piece of felt according to flap template. With wrong sides
facing, sew together.
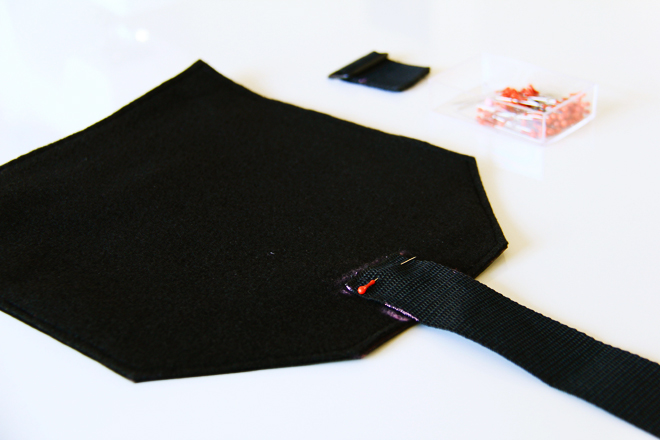
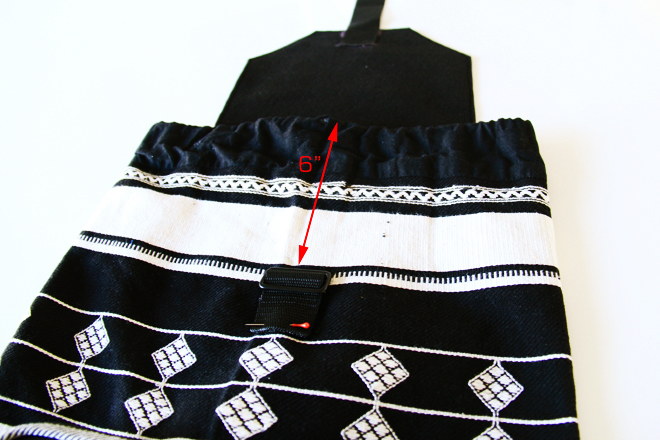
12) Cut one piece of
nylon webbing 8” long. Pin webbing to
the felt in the center of flap. Sew webbing in place.
14) Pin buckle to the
front of backpack and sew in place.
Note:
If you plan on carrying heavy items, reinforce the straps by sewing extra nylon
webbing perpendicularly across strap ends.
Any questions or comments are always welcome and appreciated. Hope you have a good weekend, Nicole.







No comments:
Post a Comment